Tuesday, 27 November 2012

Building a Farm


Our largest site is located at Pacific & Carrall, right next to the sea wall in False Creek. The land is a parking lot owned by the condo company Concord Pacific. We get the land for free and they get a tax incentive for donating the space. We also get a nice view of the backstage buses for all the concerts at Roger's Arena - we had front row seats for a whole day of Bieber fever. In total, we have 2 acres of production on this lot. 

At our first site we constructed 18 inch raised beds out of lumber, but for this expansion we needed a way to build a lot of beds in a short amount of time and on a tight budget. Seann and Michael went through many designs and considered lots of repurposed materials, eventually landing on this design. 

Each box made up of a used pallet which is covered in stapled landscape fabric (you can see the black fabric in the bottom of the image above.) The fabric acts as a way of keeping soil from falling out the bottom. We then used shipping collars to act as the side walls of the container. These collars are used in the shipping industry and are the same dimensions as a shipping pallet. They are hinged and can be laid flat and stacked. They made the set-up of the beds real easy - we would drag over pallets, line them all up, roll out the landscape fabric, staple and cut, and then pop on a shipping collar. For 2 acres of space we had to set out 3,000 boxes. It took our team of about 20 staff 2 weeks to lay out the whole site.

We set up the rows so that they were in blocks - around 20 rows in each block. The irrigation is also set up in blocks so that we can turn on the drip for just one block at a time. This also makes the crop planning simpler as we can plant blocks at a time, and then rotate crops from block to block each season.


The soil was another story. To fill 3,000 boxes with a yard of soil would have taken us weeks to do by hand, so we had a soil blower come in to fill the boxes. It's a giant truck with a huge hose attachment that blows out soil - real noisy but real fast.

Our first harvest day at the Pacific Site! Greens were the first crops ready.


Monday, 26 November 2012

Beet Bouquets!


We grew three varieties of beets at the farm - the dark read are Merlins, orange are Touchstone Gold and the reddish/pink are Chioggia which are candy striped when you slice them open. 

We would bunch the three colours together - large sized beets had 3 per bunch, smaller sized beets had around 6. If the greens are yellowing or have mildew then we would chop off the green and sell them loose by the pound. With most loose items - the tend to sell faster if you pre bag them. Instead of $3/pound - make a 2 pound bag for $6 and they will fly off the stand! They also keep better with the greens off and kept in a bag, so any bunches that didn't sell, if there was no market the next day, we'd top them off and store them loose.

So delicious if you roast them of grate them fresh into a salad. Or pickle them and then put them on everything! Delicious!

Thursday, 22 November 2012

Charentais Melons!


These french beauties are amazing! They are super fragrant - we grew them in a high tunnel on the Vernon site and just walking up the farm you would be overwhelmed with the sweet smell. Unfortunately, they didn't taste all that wonderful. We think it's because they were over watered and should have been pruned down to one leader. When we went out to Michael's farm on Salt Spring we tried some of his and oh goodness, they were delicious! 

I learned from a Parisian chef that used to come buy from us at the Granville Farmer's Market that you should pick a melon that both smells sweet and has a soft spot at the blossom end of the fruit. He would come each week and pick up each one, smelling and gently squeezing. 

Monday, 19 November 2012

Supa Fresh Youth Farm - Tigard, Oregon


On our road trip north from California in the winter I visited Supa Fresh Youth Farm to chat with their program staff. It was the off season so there wasn't much youth action going on but they sure have a mighty inspiring project! 

Located in Tigard, Oregon, the Supa Fresh Youth Farm is entering its third growing season. Originally a work-learning program that connected youth with paid work placements at local businesses, the farm project started when a staff member found a long forgotten garden space tucked in the back corner of the local elementary school. 


The program is funded through the Oregon Human Development Corporation (OHDC) to hire youth participants who are between the ages of 16-21, currently in a school program and who face systemic barriers to accessing employment. Youth participants farm the garden space, growing fresh produce that they sell at the local farmer’s market while working on their employability skills and gaining valuable work experience.


Farm gates.


Youth farmers designed and built the arch.
Participants have their own schedule for farm days, attending the program at a pace that suits them. They keep track of their hours and receive a stipend of $600 for every 100 hours of work they put in. Supa Fresh has an informal partnership with an alternative school that they share office space with. The school is able to refer students that are looking for work, and Supa Fresh is able to connect their youth interns with credit recovery programs offered through the alternative school. Currently, their high school graduation rate is higher than the district average.

Pavilion for learning and farmer lunches.
The program maintains a focus on entrepreneurship and employability skills development. Youth are responsible for growing and preparing the harvest for market, as well as actively selling their produce at the farmer’s market. Each season they design and sell t-shirts as a way of fundraising for their program and raising awareness for their food security initiative. Programming includes cooking classes, team building exercises, a camping trip and opportunities to work alongside local farmers and chefs. 

Check out their website - lots of non-rainy winter photos! 


Hay bale beds - cost effective, warm up quick and
break down into organic matter at the end of the season.

Friday, 16 November 2012

Watering


Learning about watering was tricky – I’ve learned that there are so many variables – your soil type, your growing method, your climate, the varieties you choose. For our farm, we were growing in raised containers on parking lots which meant the beds would heat up quickly and water would evaporate faster, as well as drain out faster. We also had soil that although rich in organic matter would drain rather easily, which means more frequent watering.

Ideally you want one inch of rain per week. Generally, if you dig down to 5 inches deep, you want to always have 75% moisture – if it falls to 50% moisture then you have a problem. Adding more organic material can help with moisture retention and watering more frequently may be required.

At the farm we would use the overhead sprinkler on our greens and leave it on for 30 minutes at a time. In the hot hot summer we would leave it on for 45 minutes as we were not only watering but trying to also cool down the plants. We would also use the sprinkler to water beds that were freshly seeded.

Drip irrigation with our pepper transplants.

The entire farm is hooked up with drip irrigation and we would especially use the drip for watering transplants and plants that don’t like to get their leaves wet such as the cucurbit family (squashes, melons, cucumbers.) With drip, we would water every second day and because we were growing in containers with loose soil, were able to reach down the box to see that the soil was in fact saturated before moving to the next block.

Consistent watering is really important – especially during the hot summer with such intense heat. Often split radishes or carrots are the result of over watering and inconsistent watering. Same with blossom end rot or split tomatoes.

Wednesday, 14 November 2012

Edible Schoolyard - Berkeley California


Working in food literacy education these past couple years I always looked at the Edible Schoolyard and dreamed of seeing their work. This past winter I was lucky enough to take a tour of the Berkeley site. I took one million notes and was fascinated by hoe they make it all work. Here are the details. Totally dreamy! 


How it Started

Alice Waters, of the restaurant Chez Panisse, was quoted in a news article speaking about how to improve food in local schools. She said that local MLK School in her neighbourhood was a perfect example of what not to do – lots of pavement and neglected space. After reading it, school Principal Neil Smith contacted Alice and invited her to come visit MLK and offer her support.

She discovered that Neil had just recently planted a school food garden and was interested in making his school better. As the third principal in 2 years – he knew his school had a poor reputation and he was committed to creating a more positive learning environment.

Alice identified three ket areas for improvement:
Students needed to garden together
Students needed to cook and eat together
- Students needed to eat real food in their cafeteria

Together they decided that they couldn’t do it all at once, but they could start with the garden. Alice found $10,000 to start the project, and Neil had one acre of paved land on the school property that could be converted to garden space.

In 1995 they stared by tearing up the asphalt and planting cover crops. They had one garden teacher for the summer who came in and asked for the school’s 10 toughest students. Together they built raised beds and began gardening on school property. With student engagement they started to get buy-in from other students in the school. The Garden includes a four pile compost systems, a chicken coop, tool shed with mobile tool racks and lots of fruit trees and vegetable garden beds.

In 1997 they started their Kitchen program in an old cafeteria in the school. They soon renovated an old building that was right beside the garden so that the kitchen and cooking programs could take place directly beside the garden – students would harvest their fresh produce and take a few short steps to prepare their harvest.

The Dining Commons is part of the School Lunch Initiative, which is a Public-Private partnership between the Centre for Eco-Literacy, The Chez Panisse Foundation and the Berkeley Unified School District.

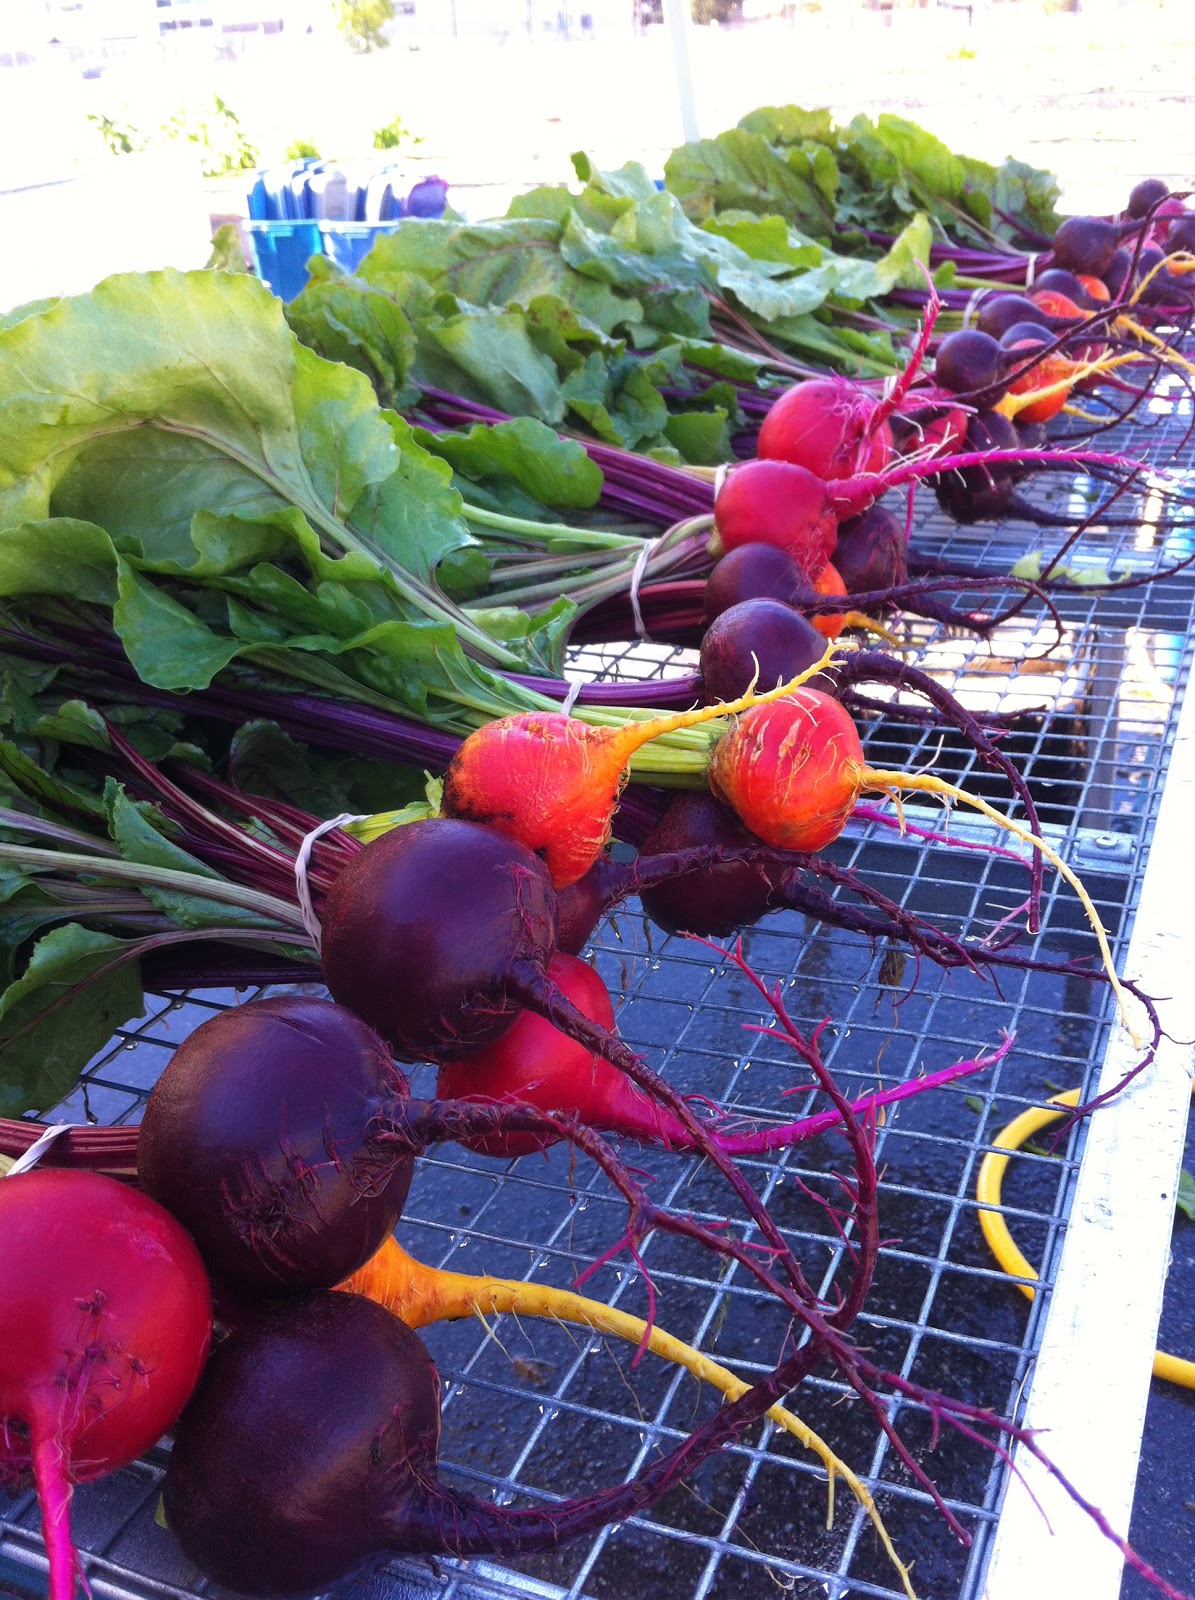
Schoolyard Propagation.

How It Works – The Garden:

The one-acre garden serves all students in the school and connects to their science curriculum. The Garden sees each grade for a six week cycle at a time. In each week, every grade 6 science class will visit the garden for one 90 minute session. After a six week cycle (six visits for each class) the Grade 7 students will participate in garden sessions.  After the Grade 8 students cycle through, the Grade 6 students start again.

Each session is 90 minutes long so to provide enough time for students to really get into their garden task and ensure enough time for clean up and wrap up. The Science teacher attends and participates in each session. They do not facilitate the lesson (the Garden Teachers do this,) but they find it is easier to draw connections to what they are working on in the classroom and ensure that the sessions are relevant to their other class work.

Garden Lessons usually have a ratio of 30 students, 1 Garden Teacher, 1 Classroom teacher and a volunteer or intern. Content comes from California Science Curriculum. Some are also connected to Edible Schoolyard Standards.

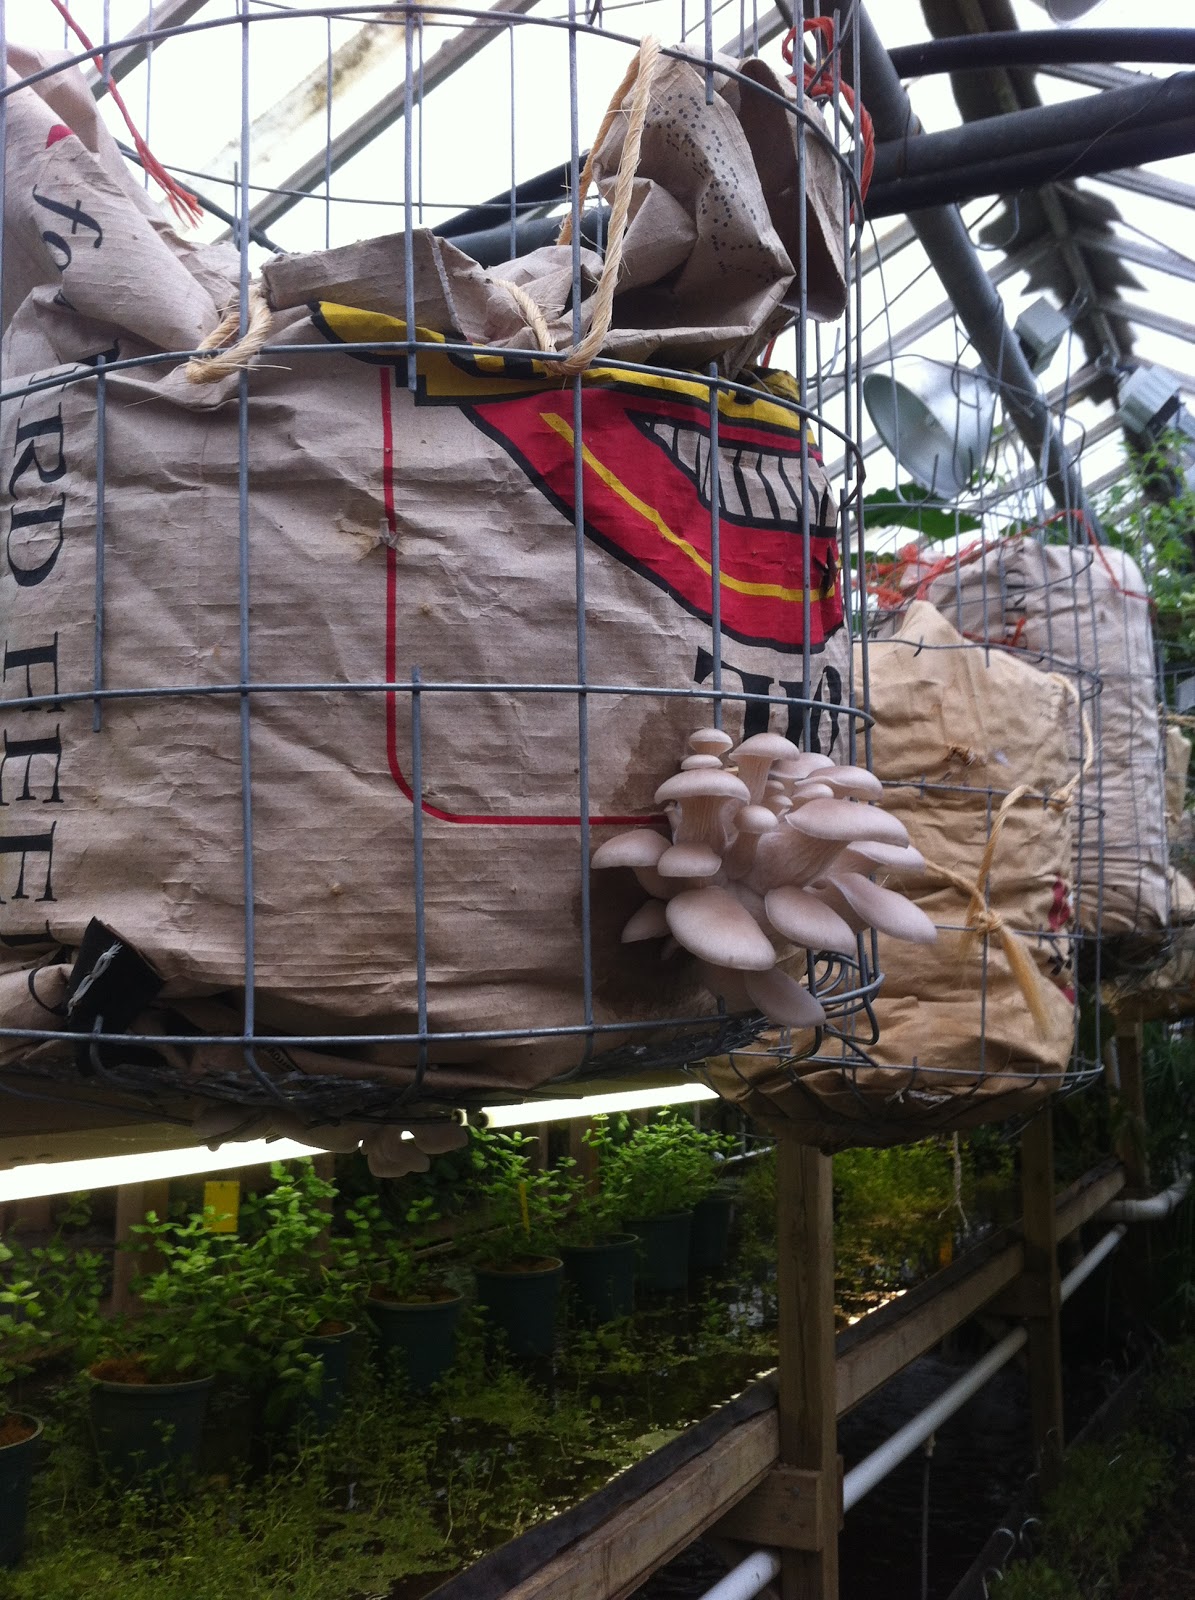
4 Pile Compost System - Very different regulations for Berkeley schoolyards! 

All sessions start with an opening circle of around 5-15 minutes where that day’s concept is introduced. They then introduce the seasonal garden tasks for that day that need to be done. Garden Teachers are sure that the work they ask students to do is real work that needs to be done – they do not give out “busy work.” Students self-select into work groups that last about 45 minutes. Tasks could include watering, harvesting, mulching, composting or caring for the chickens. Tasks such as mowing are left for adult volunteers. Garden Teachers do have a guiding question – if a task cannot be done by a student, is it necessary to have in the garden? Sessions end with a closing circle where they revisit curricular concepts or questions about work tasks. Closing circle often includes a tasting of a fruit or veg that was harvested that day. Students are encouraged to try and describe their taste with a sensory work rather than an opinion word. (ie. slimy vs. gross)

Schoolyard chickens - free range during the day, they get the garden to hang out in.


A well-stocked, warm, delicious smelling kitchen!
How it Works – The Kitchen:

The Kitchen has three large square tables in the space. The walls are covered in posters and pictures of food, plants, recipes and images of healthy cooking. There are shelves of cookbooks for students to use as well as a piano that students can play during dishes. There are a few stoves, sinks and one large commercial dishwasher. Kitchen Kits are made out of wood and include a set of commonly used tools – there is one kit for each table.

At the start of each session, students and teachers gather around the central table for a “Chef’s Meeting.” They introduce both the Humanities curricular concepts as well as the dishes that are going to be prepared that day. When I visited, they were studying African Heritage and cooking a Black Eyed Pea Stew.

The students are split into 3 Families – each at their own table. The Kitchen Teachers, Volunteers and Classroom Teacher are split evenly among the three groups. They each make the same recipe – each table acting as a cooking station.

Students are responsible for preparing all aspects of the dish as well as setting the table with tablecloths, a centrepiece, water glasses and all cutlery. Once the meal is ready and the table is set, they sit down to eat as a family. They try to teach common social conventions of eating – such as waiting until the whole table has been served before trying their food. Everyone gets an equal portion of the dish, and then seconds are given out after everyone eats together.

Conversation cards are used at each table to help to facilitate good communication skills around eating in groups. The questions are meant to be provocative for a middle school student – such as “would you rather work at a job you love that paid little money, or a job you hate that pays lots of money?” The teachers are all apart of the family meal and participate in the conversation lead by the students.

Dishes are done by one family (and they often argue over who gets to do it because they enjoy the big commercial dish washer!) Tables are cleaned up and students not doing dishes are encouraged to read cookbooks, chat with their family or play the piano.

The session closes with a concluding chef’s meeting where as a group they talk about their meal prepared and curricular connections for the lesson.

Each cooking session has to include at least one item from the garden – they try to create dishes that have a majority of either ingredients from the garden or ingredients that could be grown in their garden (ie. would work in the local environment.)

Kitchen Kits - each family of students gets one of these to use.


How It Works – The Dining Commons:

Locally sourced, scratch made hot dishes
+ a salad bar, every day.
The Dining Commons in the school prepares from-scratch lunches for the Berekley Unified School District. They function as a central kitchen for both the MLK student’s lunch, but also other schools in the district. At the school, they feed 500 students.

There is a focus on fresh, local ingredients. If an item is not made in house, they are supplied by a local purveyor. For example, samosas and buns are made by a local baker so that they prioritize supporting the local economy – and so that they can work with that local baker to ensure the ingredients and nutrition content meet government nutrition standards. They provide organic milk from a local farm, all meat is from raw and there is always vegetarian options and vegetarian days.

The cafeteria tries to be as low waste as possible – they use real dishes instead of disposable and all food scraps go to the onsite garden and other local compost programs. Students sort their waste at the end of the meal, and the success of this is in part to their understanding of composting from their time in the garden.

Executive Chef Bonnie Christensen has been very successful in creating dishes that the students actually eat. She does this by involving them throughout the year in the meal planning process. She provides “What’s on Your Plate” tastings for the nutrition classes where students taste the menu items and give their feedback. This could be three varieties of a dish such as coleslaw, or tasting a new menu item such as samosas. Bonnie notes that the students will always eat more of the food offered if they get to see it and taste it before getting to the Dining Room. 

The project took a large investment in the beginning to outfit the building, but now does not rely on donations – it is able to financially break even. Bonnie says she runs it like a restaurant and tries not to rely on subsidies or funding.


The beautiful place where students eat lunch! Lots of funding went into this space.
Resources

The Edible Schoolyard recently re-modeled their website and have created a hub of food literacy resources from across North America. You can access many of their lesson plans and publications, but the part I love the most is teachers, schools and small non-profits from across the country and signing up and sharing their own workshops, lesson plans and activity outlines. They are creating a real centre for folks to access food literacy resources for all grades, connected to every subject and coming from a variety of school gardens. There is some really lovely, innovative stuff on there! 


Monday, 12 November 2012

Prepping & Amending Beds at SOLEfood


Prepping beds for new plantings is one of my favourite tasks. The farm has a really thorough planting schedule – lots of succession planting ensuring that there are crops growing throughout the whole year, not just the standard growing season. In the height of the summer we are doing twice a week seeding of lettuces, arugula, asian greens and radishes. We also do continual plantings of carrots, beets, dill and cilantro. As the weather cools, we were seeding lettuces once a week, and also transplanting some starts of hardier greens like kale, collards, chard and purple sprouting broccoli.

Prepping Beds

After a crop is done producing, we pull out the finished plants, roots, and dead leaves (crop trash). The soil gets turned over with a digging fork and all the soil clumps broken up with a rake or by hand. It’s important to pull out all of the roots because they get stuck in the seeder really easily and jam up the wheel – otherwise they wouldn’t be such a big deal to just leave in the bed. Once all the clumps are broken up we either rake or level out the bed by hand to make sure it’s nice and flat – again, easier for the seeder.

Bloodmeal sprinkled on half a row - in the beds further back
you can also see the darker worm castings that were applied.

Amending the Bed

Plants require three primary nutrients – nitrogen for healthy leaf and stem growth, phosphorous for root growth and potassium for overall plant health. There are other micro nutrients needed by plants, but these are the big three. Crops are generally removing these nutrients from the soil as they grow. This is how our food becomes nutritious – healthy soils mean healthy food. This means that after each planting there are fewer nutrients available in the soil for the next succession. If we just continued to plant, we would loose our soil fertility and run into serious problems with plant health.

In lots of conventional farming operations, you would counteract this nutrient loss with the application of synthetic chemical fertilizers. But there are also some more sustainable and organic options. Ideally we would be turning in our own compost as a fertility source for our soils, but we are currently unable to compost most of our plant matter due to municipal bylaws. Also, as an urban farm, we really value space and therefore use soil amendments that have less bulk and take up little storage space. For us, that means instead of bringing in compost or manure, we use worm castings and bloodmeal.

Blood meal is dry, powdered pig’s blood or cow’s blood. It is very high in nitrogen, a nutrient that most soils are often lacking. There are other similar amendments - bone meal has a high phosphorous content and is made of powdered animal bones, feather meal is ground up chicken feathers and also has a high nitrogen content, and fishmeal is the same idea, ground up fish bones and guts. All of them will generally do the same thing, and all of them smell absolutely terrible. Make sure to keep all of these very dry as even a bit of moisture will cause clumps that are hard to break apart. If this does happen, be sure to beak up or remove any clumps before applying to the soil.

Worm castings are essentially worm poo – it is organic matter that has been digested by worms. The castings provide a source of nutrients and also provide a source of beneficial microbes to the soil, enhancing soil biology

Once a bed has been prepped we sprinkle one yogurt tub of castings per box and two yogurt tubs of blood meal per row (highly scientific calculations.) You want a light sprinkling of the blood meal – too much nitrogen will burn your plants. Once you’ve sprinkled your row, you can scratch in the amendments with a hand cultivator, or your hands. You want the amendments to be about half an inch below the soil so that they are available for the seeds and young starts to use.

You can then begin your planting! 

Sunday, 11 November 2012

Growing Power Visit


On our drive from Vancouver to Toronto we were able to visit Growing Power in Milwaukee. This organization is amazing! We had a really in depth tour from one of the staff who shred lots of the organization's history and current focus. The project started in 1993 when Will Allen bought a 3 acre historic farm - the only remaining agricultural land within city limits. The neigbourhood around the farm was a food desert with few grocery store options in the area and few transportation options to access other options. The farm operated as a roadside grocer for the community - providing fresh healthy produce for those in the neighbourhood. The project became a youth employment program providing training and paid work for youth in the community as well as service learning opportunities for local college students and farming interns.

The work they do is incredible - with a focus on building healthy soils they have a large vermicomposting operation and they are also doing some really innovative aquaponics systems. They now have farms across Milwaukee (with a goal of 20,000 gardens in the city!), neighbouring towns like Oak Creek and a satellite office in Chicago with some great urban farming projects. THe Milwaukee office has some innovaitve corporate partnerships, runs 8 school yard farms and also has a Green Jobs training program that builds hoop houses for sale.

Their goal is to provide equal and even access of good quality food for everyone and really propagate the idea of growing food sustainably. They offer really great workshops, courses, tours and a fall conference - so if you can find your way there, I recommend it! Here are a few highlights from the tour.


Healthy Soils

Growing Power composts over 400,000 lbs of food that is donated each week from corporate partners around the city. They maintain a focus on building healthy soils - we can't have nutritious foods with out nutrient dense soils. We saw a few different methods of composting on site, pictured above is a long line of compost bins where the compost gets turned and moves from each bin as it continues to break down. The pots are all growing greens - they had been recently moved inside. They truly grow wherever they can. Finished compost is fed to worms to create vermicompost. They use this in their own production as well as sell it in their store front.


Worm Tea

The compost is also used to create worm tea as pictured above. The tank is filled with water and a small amount of compost is added alongside some unsulphered molasses. The mixture is aerated and the aeration mixed with the molasses food source helps to multiply the amount of healthy bacteria in the tea. The finished tea is then used as a fertilizer and fro improving the biology of the soil.


Mushroom Production


Inside a lot of the hoop houses (there are 10+ at the Milwaukee site!) there are hanging mushroom baskets. They are really making use of all their vertical space. They also grow mushrooms using large boxes made out of old pallets that were smartly tucked away in some unused corners. One exciting thing I saw was hanging shiitake logs above the aquaponic tanks - they work well since the logs really like a moist environment, and the space between the fish tank and the above grow bed goes largely unused.


Aquaponics

Growing Power had lots of aquaponic systems set up, mainly growing tilapia and a few types of perch. The fish waste is converted by bacteria into available nitrogen for the plants and the water is filtered through a grow bed - the plants take up that nitrogen and in exchange are filtering the water for the fish. The system pictured here is absolutely the largest system I have ever seen. This pool has 12,000 gallons of water! There are 4,000 tilapia growing in this system and the grow beds that filter out that water run the whole length of the greenhouse. Lots of nasturtiums, tomatoes, taro and watercress filtering out the good stuff.


Hotmash & Goats

The hoophouses are unheated so to keep them warm over the cold Wisconsin winters the sides of the houses are piled up with a mixture of spent grain mash from local breweries and manure. The farm has several goats that they keep mainly as a source of manure and as an educational component - no milk or meat. They also have a chicken house that provides eggs, but they also value the chicken manure. With these manure sources, they don't have to rely on any purchased sources of fertility which is amazing.


Monday, 5 November 2012

Strawberries


Vertical strawberry planters in April.
We grew strawberries at two of our sites this summer at Sole Food. At Hastings, we have a half-acre site in the parking lot of the Astoria hotel. This is the original site and therefore has a really efficient use of space. When they could no longer go out – they went up! Our strawberries are planted in vertical PVC tubes. The tubes have 2 inch holes drilled into the sides about 12 inches apart in staggered rows. To install them, we stand up the tube and attach it to the side of the wooden raised beds. We then fill with soil from the top of the tube, tamping to make sure it’s good and full. We set up a drip irrigation line running along the top of each tube.  We also placed a pie plate below each tube so that there is some wicking action happening below. These vertical tubes run along side the perimeter of the farm and our main walkway – they go wherever they can fit!

At our pacific site the strawberries are planted in staggered rows, filling up one whole section with these two-year plants. Strawberries will continue to produce after two years, but their production will often slow way down which means most farmers replace them after two years. Keeping them together in one section just makes crop planning easier. This section also got drip irrigation.


Planting:

To plant the strawberries we trimmed the end of the roots so that they were about 4 inches long. We then dipped the plant into a kelp solution full of micronutrients that will give the plant a jump-start. You want to dig a hole deep enough to accommodate the roots – you want the roots straight and not forced to turn upwards at the end with the crown of the plant flush with the soil level. With most plantings, ensure that you aren’t relying on mounding up the dirt around the plant to ensure it’s covered. That dirt will simply wash away and leave the plant bare.  

Runners:

The runners of the strawberry plant are the plant’s way of reproducing. The runner, or stolon, is a long, leafless branch that grows horizontally out of the plant in search of new space, soil, water and light. If left alone, the runner will develop a node that will root itself and form a new strawberry plant. Lissa told me the runner acts like a placenta – feeding the new plant until it is able to live fully on its own. At that point the runner will die off and the plants will no longer be connected. So- if you want new plants in your strawberry patch, let your runners go!

Staple marking a runner we want to keep.
Runners do function like suckers though- when they are putting energy into their reproductive efforts they are not putting that energy into their fruit production. So if your goal is to harvest lots of good strawberries, you want to remove those runners to refocus that energy. I would pull off the runners by hand. Some folks on the farm preferred to use a harvest knife – sometimes this helps if the runners get really big. We would go through and pull off the runners at least once a week. When we were harvesting, we would also bring a small tote/bucket for compost and pull out any bad fruit or runners while harvesting and then the job is always being done.

There were some plants that didn’t take at the start of the season (or were pulled out by the crows…) and so we had some empty spots in our rows. To fill in these spots, we would use a soil staple to mark out a runner that we wanted to leave so that it wouldn’t get picked off by a farmer and the runner would then become a new plant in that empty hole.

Harvesting:

You want to pick your strawberries when they are fully all the way around deep red – no white tips or almost red spots. We could always notice a difference in flavour between almost red and red. Make sure that you keep some of the stem and all of the hull still on the fruit (also known as the peduncle and calyx – such good names!) They look better and keep better that way. I used my fingers to pinch off the stem and harvest, some choose to use a knife. We would not sell anything that had any soft spots or rain damage, but would harvest those to save for staff to eat.

With the strawberries in rows we would just harvest right into the flats. For the strawberries in the vertical tubes we would use a fashionable yogurt tub necklace so that you could reach up above you and harvest with both hands without having to hold on to a flat. We never washed strawberries as they keep much longer that way.

Strawberries are amazing to have at markets! We would always offer samples – a sure fire way to get folks coming back for more.